Studio Build for DistastefulDemon twitch streaming.
Back in January 2025 my other half came to me and asked me to help with a practical studio setup for her to stream on twitch and using my experience from Ionoco, Wey Valley radio and Radio North Angus along with the skills I learnt at college and volunteering with AODS I built a studio complete with audience interaction lighting and LED sign control, video switching and key/media pool playout, Multi-camera options when needed and flexible audio options.
To jump to a section you can click any of the links below
Hardware
A Quick and dirty break down of the key points of hardware are here
- Camera: Sony FS7
- Mic: Scarlett CM25 MkIII Microphone
- Video switcher and encoder: ATEM Mini Extreme (HDMI version)
- Lights: 3 RGB LED Par cans
- Effects: QTX Flare1000 Hazer with RGB LED lighting
- Lighting controller: RPi model B with a FTDI USB – DMX dongle
- LED Screen: Hanover Displays 96X8 LED Display (the kind you see on buses in the UK) + USB – RS485 driver
- Stream Decks (mini, Mk1 and XL)
- Zigbee smart plugs for power automation and logging.
Software
A quick breakdown of the software used
- Media playout and Chroma Key: OBS Studio
- Video switcher: ATEM software control
- control surfaces: BitFocus Companion
- Audience interaction: Lumia Stream
- Lighting and effect: QLC+
- Artnet to DMX: OLA on RPi
- LED sign: Custom python script with addons from Morranr (morrbot) and the Hanover python library
- Audio routing: VB audio- VOICEMEETER Potato
- Middleware: LoopMIDI
- Smart home intergration: Home Assistant (HAOS)
A huge thank you to all the developers who are linked above and also to LA who has helped me refine my python script to clean up bugs and formatting. Where possible I prefer to use FOSS software and give back to developers who put there hard work and sweat in to these amazing software.
Video and Camera
Video mixer
The obvious choice for the vision mixer was the Blackmagic design ATEM Mini series. After trying to use the Mini Pro I had to move over and replace it with the extreme model as the extra upstream keys were needed for the PIP camera and chrome key overlay for the frame and other overlays as needed as the stream developed. The main points behind why this was my go to are
- 8x HDMI inputs with 1080P60 with 10Bit depth (with side channel support for Blackmagic cameras and tally lights)
- re-clocking on all HDMI inputs
- 2X HDMI Out for Monitoring PGM/PWV/MV or source direct
- 4X Upstream Keys and
- 2X Downstream keys.
- On-board video encoding and streaming engine
- 2X USB 3.1 Type-C ports allowing local recording of the PGM source and either a webcam out or mobile tethering for off site video production.
Camera
- For the camera I offered up my Sony FS-7 as it supported the 4 main things I was after that being
1. XLR inputs with +48V Phantom Power for a desk microphone. - 2. Interchangeable lenses with support for Sony’s PZ series to permit fully remote focusing and zoom if needed (It wasn’t but is a nice to have).
- 3. Full control over the ISO, Shutter angle, Iris and white balance and being able to save these as a pre-set.
- 4. Multiple output options as the FS7 supports both HDMI 1.4 and dual SDI 3G so future upgrades to the video switcher mean the camera won’t need to be replaced at the same time.
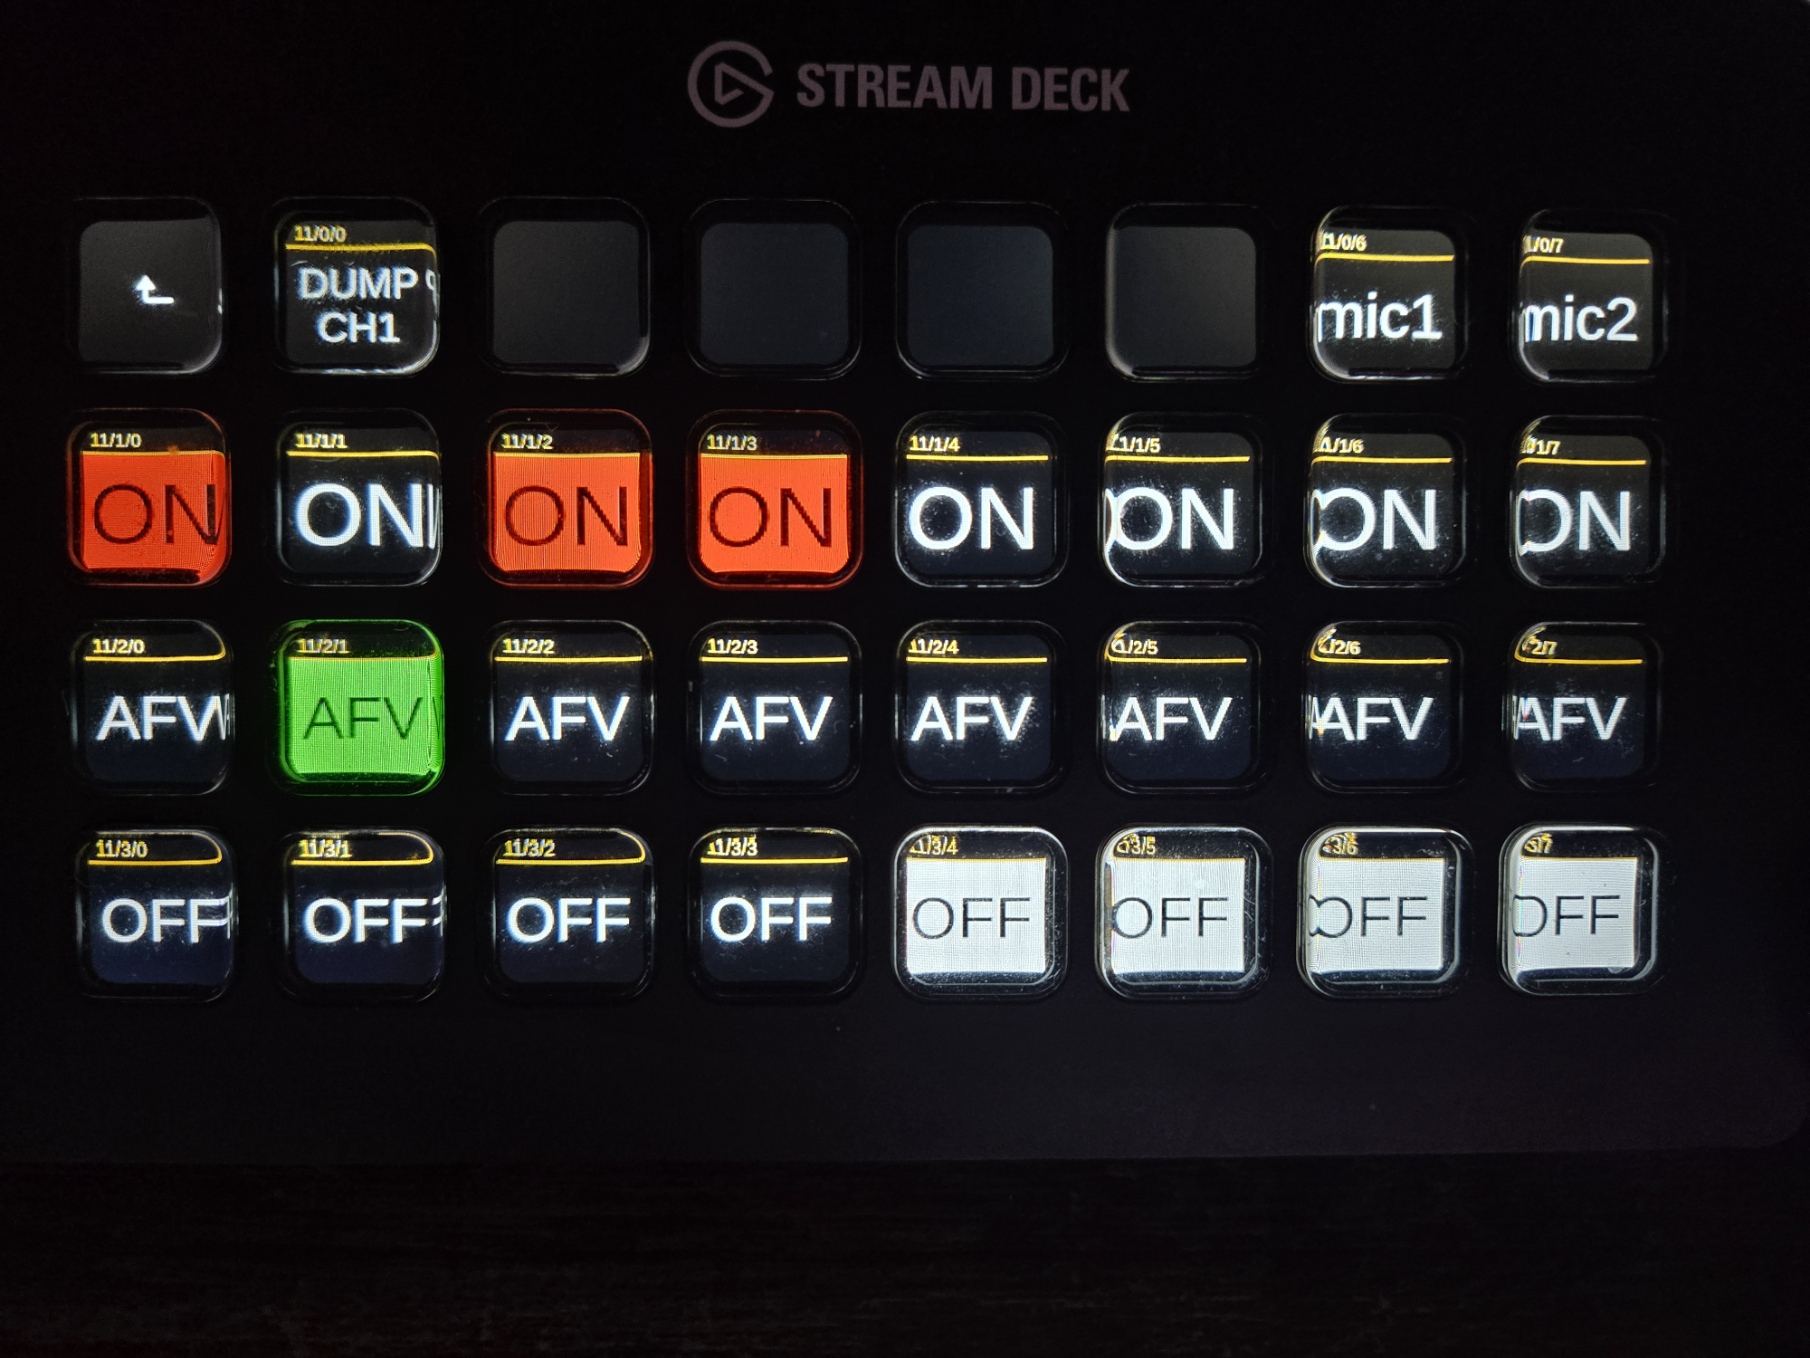
Audio
For audio I originally used a Shure SM58 but this was soon replaced with a Focusrite Scarlet CM25 Mk3 studio/vocal mic as this was a good trade off between price and the sound reproduction with it being aimed at the vocal range. This is directly connected to the Sony FS7 from above to be able to send the audio and video back to the video mixer over 1 cable. On the ATEM there is also the option to add sound processing in this case I set up a limiter to cut off any sounds over -20 dB as that is my maximum target output for all sources. To also add there is a quite aggressive EQ to cut off sounds such as vibrations and movement in the lower end of the frequencies. To add to this when doing streams where it is not desk based such as the cooking streams I have added DJI Mic 2 Wireless microphones to allow either a mini-mic using the transmitter or to add a lapel or headset mic for where the CM25Mk3 would not be practical. This can be either connected to the FS7 or directly to the ATEM to allow for flexability.
Lighting and Effects
Lights
For lighting there were 2 points I wanted ticked off to start with that being 1. DMX controlled to allow for integration with the audience and events and 2. Size and weight being under 1kg and 40cm across per light. This was easily achieved with a pack of RGB LED PAR style lights. Supporting DMX control or manual over riding to a fixed colour if needed due to hardware failures.
Control and Conectivity
For the control of the lights I am using a Raspberry Pi Model b from 2012 running Open Lighting OLA to convert ARTNET to DMX using a FTDI USB -> DMX cable. This is then controlled from QLC+ lighting software sending artnet packets on a vlan to ensure they are the only traffic on that vlan. QLC also listen’s to MIDI commands and OSC commands for audience interactions on twitch for chat and events. See audience interaction for more.
Effects
For the Halloween 24 hour Spookathon I added a Hazer to the stream to add some ambiance to the event this was done using a QTX Flare 1000 Vertical Hazer with RGB LED’s to allow a fire effect when triggered. This was done using DMX again with the same setup as above.
Audience Interaction
LED Sign
One idea that was thrown around was a way to make the stream standout from the others and the way we decided to do this was with a screen that people can spend 200 bits (around £2 at the time of this write up) to be able to place a custom message on the screen for 120 seconds. This is done using some custom python code that is built around the Hanover Python library from hawkz on GitHub and the message is handed over to the sign using a small WebSocket app written in GO! by Morranr to integrate with the Twitch bot. To keep things clean and appropriate the python script checks a list of blacklisted words of the most common profanities and offensive terms along with a regex check to look for spelling that would look like T.h.1.s for example and if found discards the message. There is also a log of the messages sent that is timestamped and a set of idle messages that run on rotation that can be edited from a basic UI on the PC. To communicate with the sign there is a USB to RS485 dongle connected to the sign. The sign itself is a stock side destination screens from most busses in the UK with all the special work done on the PC.
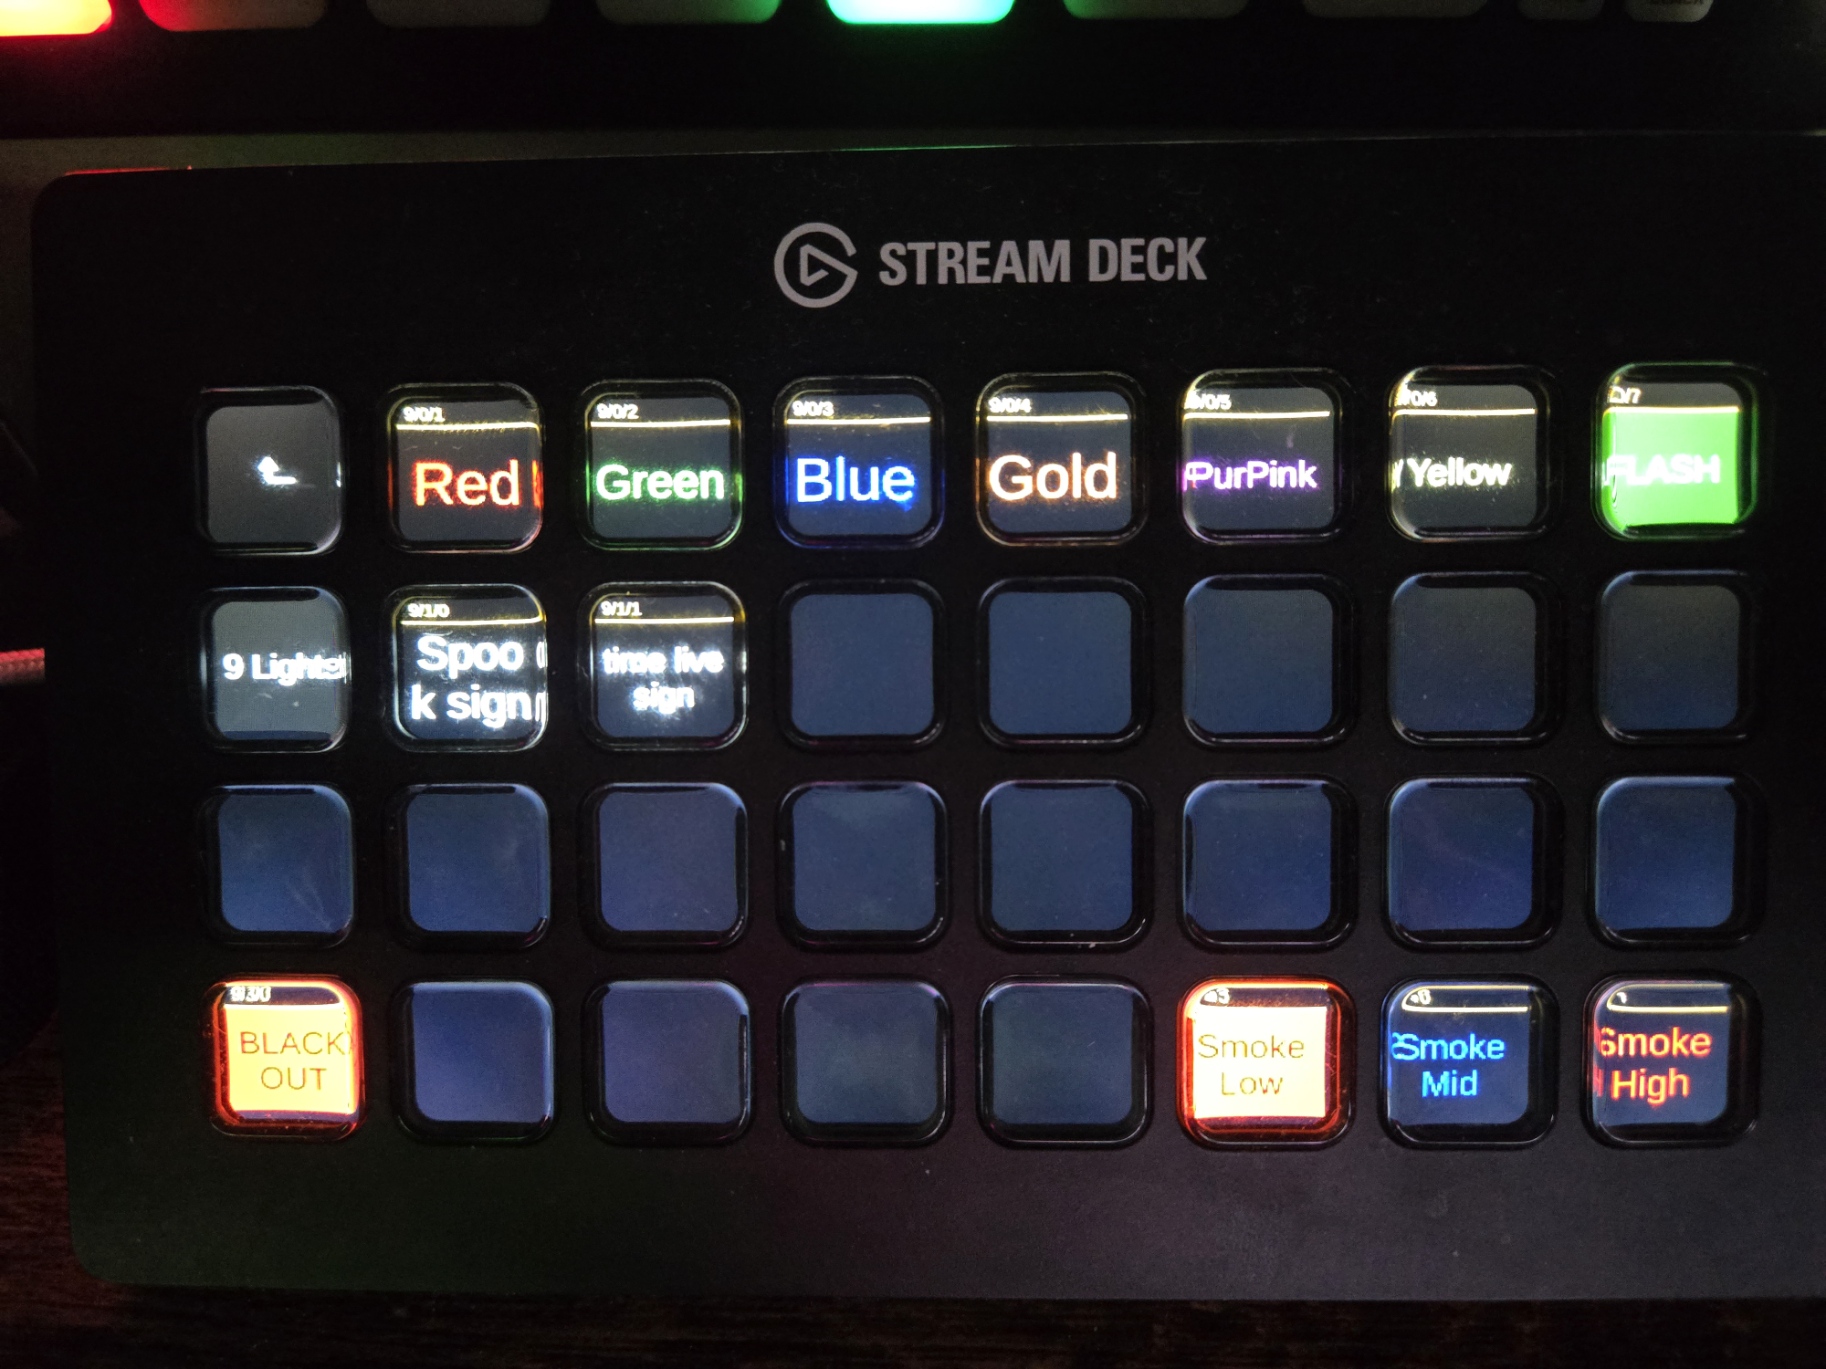
Chat Control
To allow some basic integration with the set there are some commands that can be entered in chat such as changing the colour of the set by subscribers and VIP’s. This is done using Lumia Stream and LoopMIDI to talk to QLC+ to fire off pre set scenes. This was also implemented with the spookathon to allow followers and subscribers to be able to trigger the hazer with the level of trigger being different between the user with a timeout to also prevent filling the room to the point you can’t see anything.
Twitch events
With the lights and the LED screen I also integrated Lumia Stream to look for specific events and trigger lighting events such as a chasers or flashes and to also where decided to show a message on the screen. This is also fully automatic and runs using a mix of LoopMIDI and OSC to send timing data to keep the screen and lights in sync.
Control and integrations
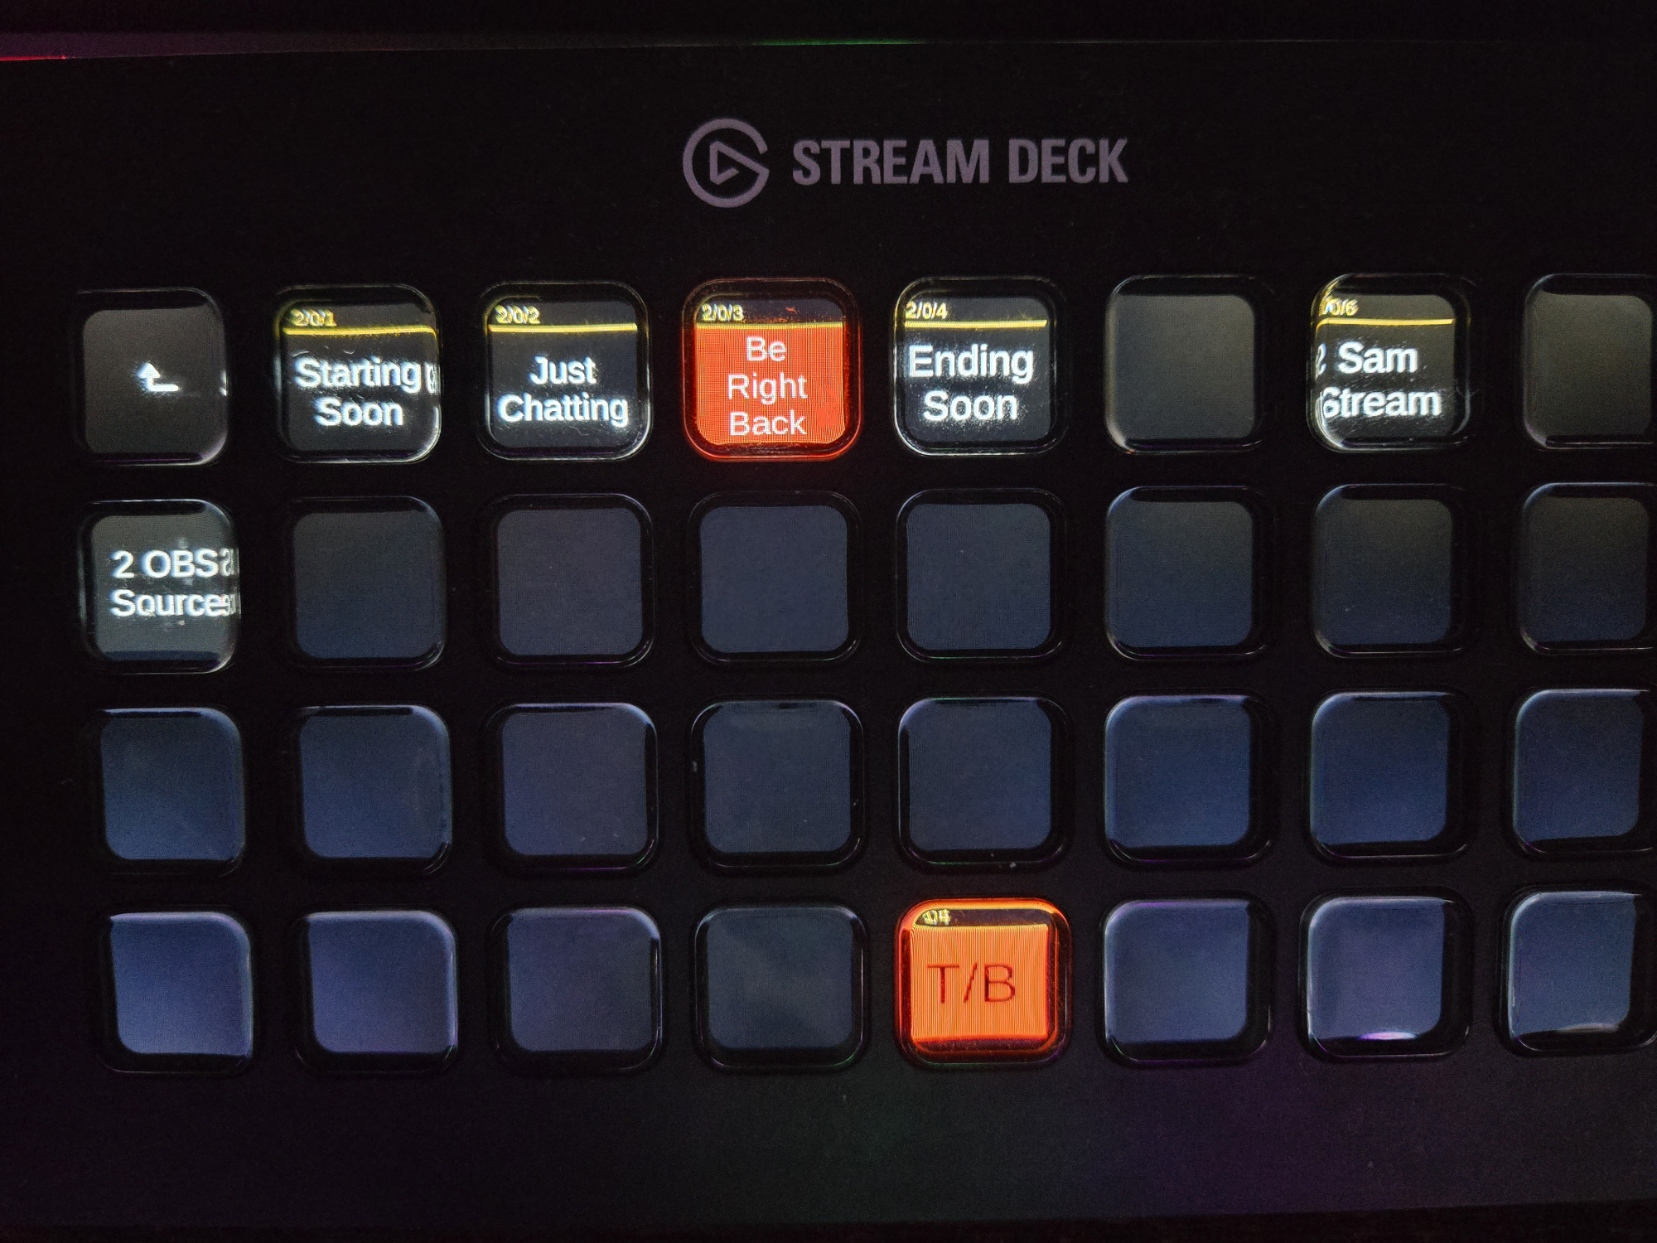
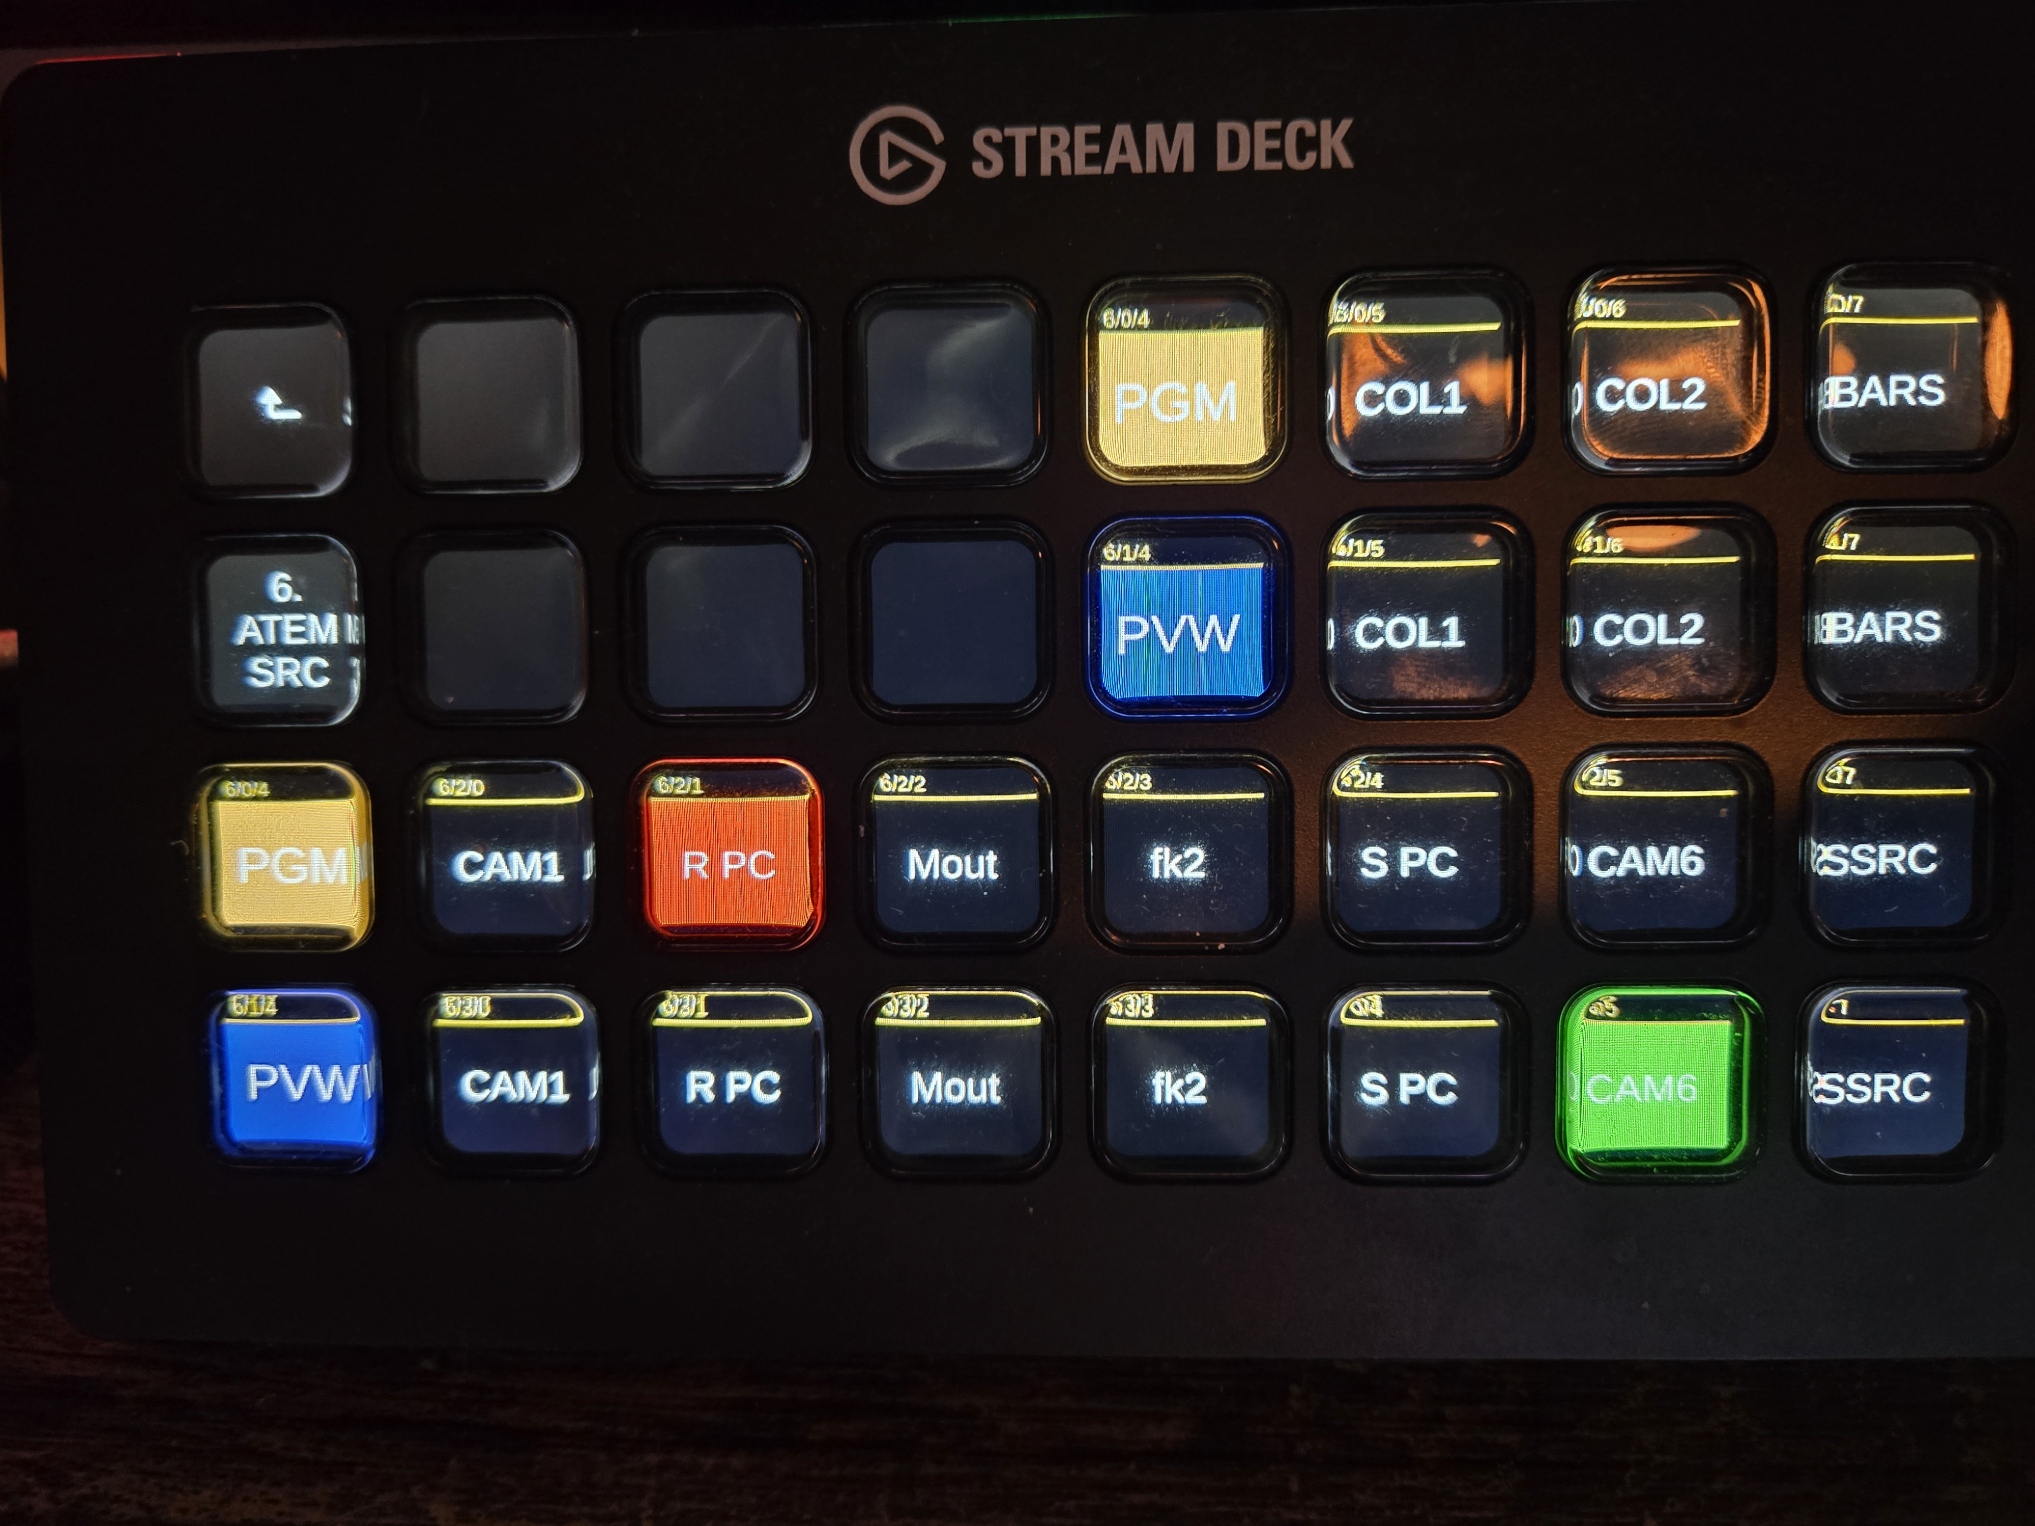
Control Surfaces
To allow both the streamer and myself to control the stream and equipment (inputs, Keys, Audio, lights, etc) I looked in to custom software but discovered Bitfocus companion and the ability to integrate all software and hardware function in to one place and then to be able to map these to buttons on Elgato Stream Decks. This allows complete control at different levels for both the stream and myself primarily acting as a technical producer and when need a producer.
Power monitoring and control
To be able to monitor the power usage of the stream equipment and also be able to automate power on and off I am using my Home Assistant server to control a set of Zigbee smart plugs to watch voltage, amps and the total power draw. One interaction inside of companion is to power all supplemental equipment on then go live using these smart plugs.
Extras
Extra little things I’ve used and made are HDMI to BaseT transmitters, UniFi Networking switches and routing to ensure QoS of streaming and show control data. I have also designed and 3D printed brackets, Lighting and set design elements and for features such as webstore for Merchandise and Minecraft server for subscribers built custom code and plugins to allow bespoke functionality.